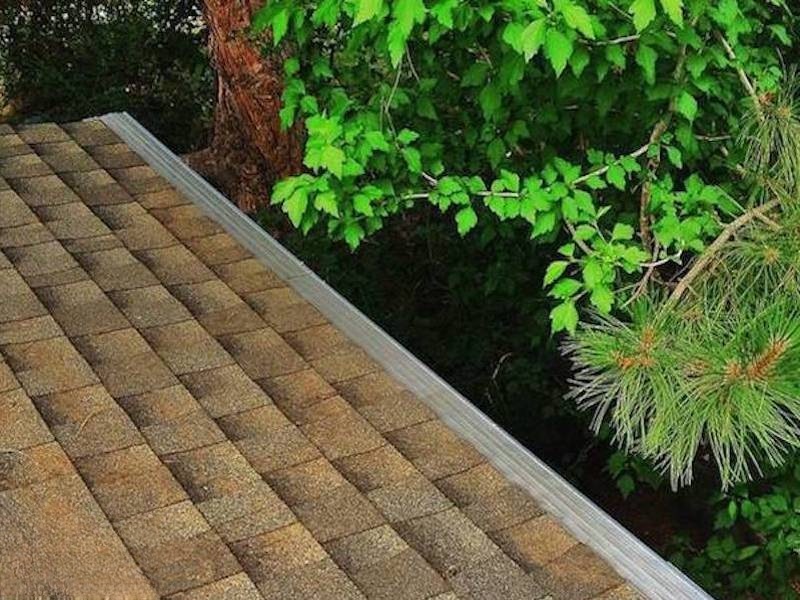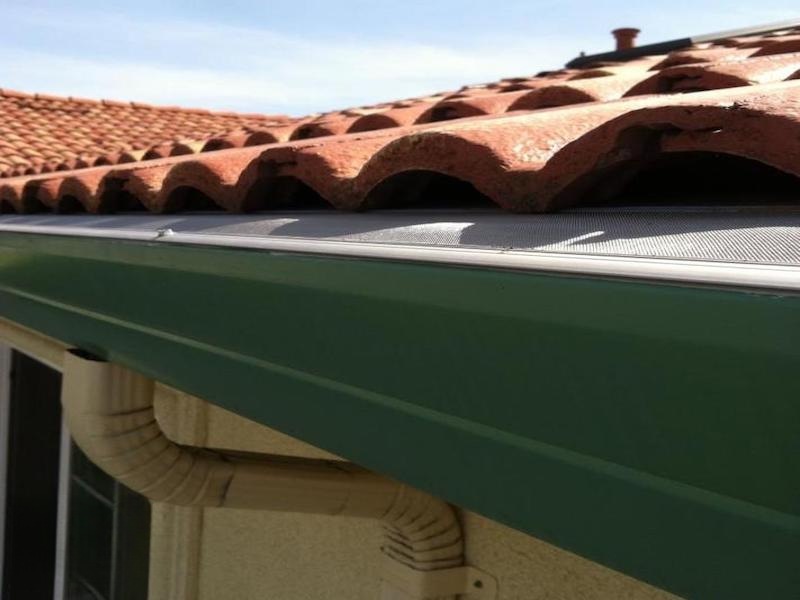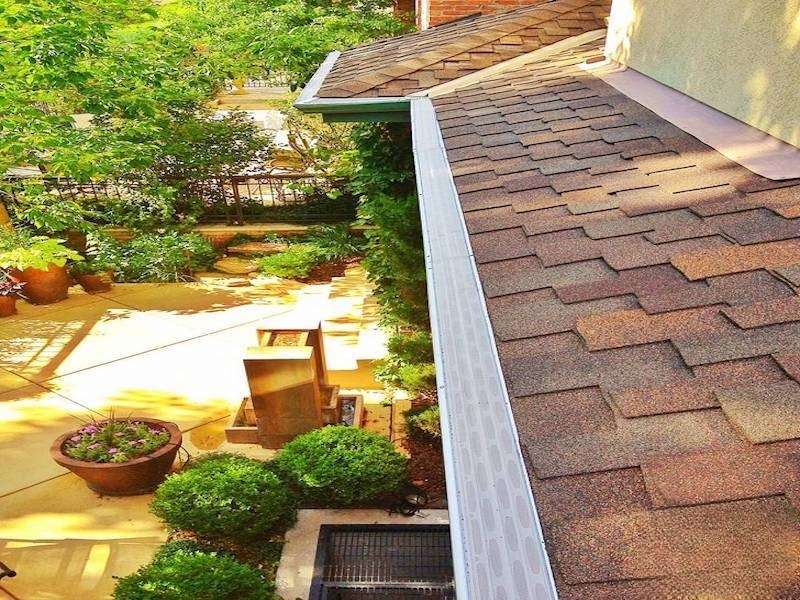
Professional Installation Matters
Even the best gutter guard performs poorly if it is not installed correctly — and the failure is quiet. A run that is slightly out of pitch holds water. A section that is not fully seated lets debris in at the joint. Neither shows up on the day of installation; both show up the first time it rains hard. That is why every GutterDome Dealer is trained, licensed, and insured, and why every installation carries our manufacturer warranty. Here is what the process actually looks like, from the first visit to the last walk-through.
Step 1: Home Inspection
Your Dealer starts with the roof and works down. They inspect your existing gutters, roofline, fascia boards, and downspouts, checking for damage, sagging, improper pitch, and any problem that has to be solved before guards go on. They also look at what surrounds the house — tree coverage, roof type, and where the downspouts currently discharge. If the gutters themselves are failing, most GutterDome Dealers handle seamless gutter installation as part of the same job, so you are not stacking two projects.
This is the step that decides whether the estimate is right or merely close. A quote given from the driveway, without anyone on the roof, is a number rather than an assessment — and it is the most common reason a gutter guard job disappoints.
Step 2: Product Recommendation
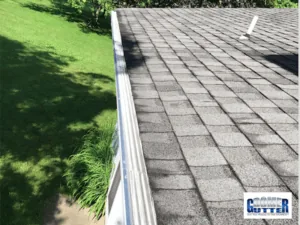
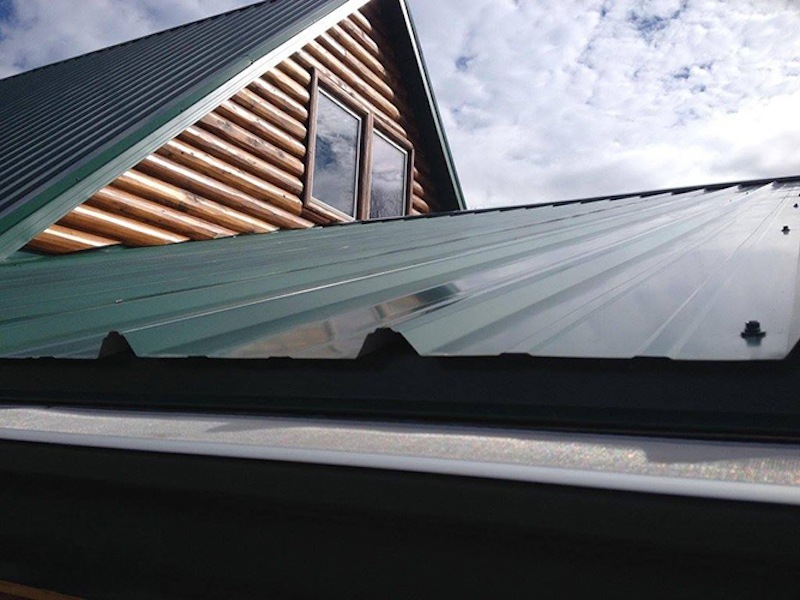
Based on your roof type — shingle, tile, metal, or cedar shake — your climate, and the trees around the house, your Dealer recommends the right system. Options include the GD45 Adjustable with Clynch Channel technology and the Magma with enhanced mesh, both available for 5-inch and 6-inch gutters. The recommendation should follow the roof, not the other way around: fine mesh for pine needles, a heavier profile for tile, and so on.
Ask what the system is made of while you are in this conversation. It is the question that separates a guard that lasts from one that does not: an extruded aluminum frame with a stainless micro-mesh surface answers differently than a plastic screen in a roll-formed channel.
Step 3: Installation
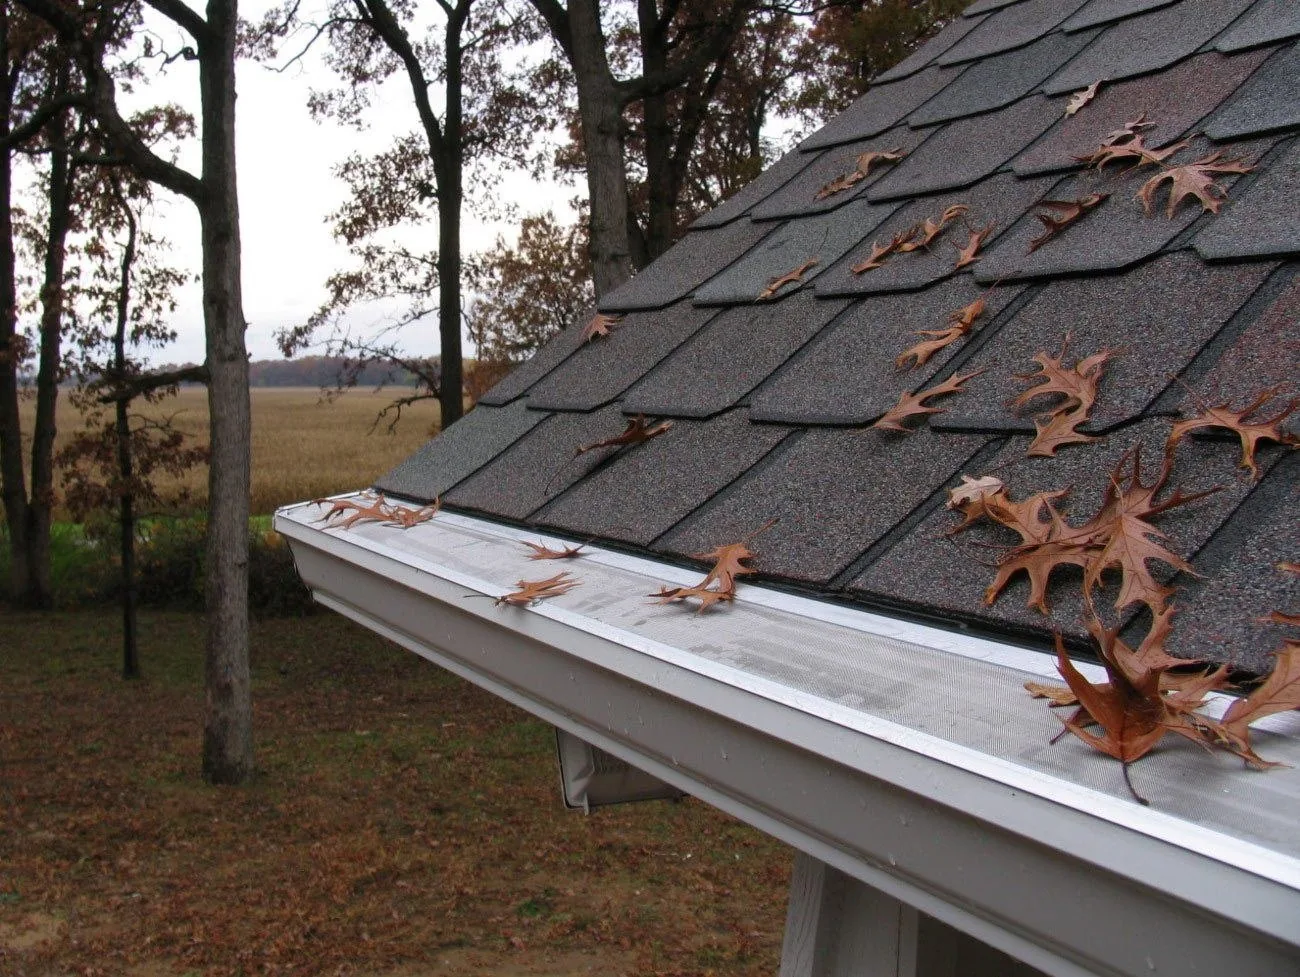
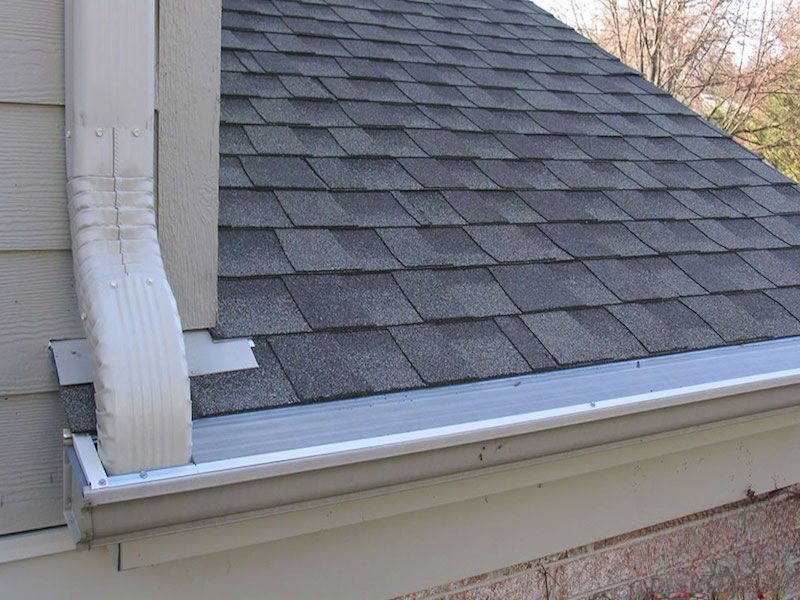
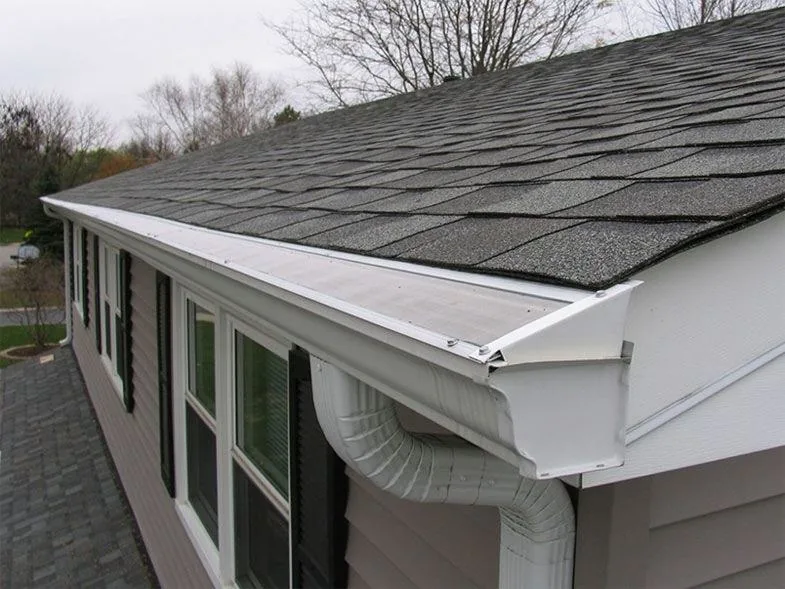
Installation typically takes one day for most homes. The crew clears your existing gutters, secures the guards using our patented fastening system, tests water flow, and verifies that every section is properly seated. The Clynch Channel system is what makes the fit secure regardless of roof pitch or material — a mechanical grip rather than a reliance on the gutter’s shape.
What stretches the day beyond that is usually geometry rather than product: two-story drops, steep pitches, multiple roof planes, and tile or cedar roofs all take longer than a simple straight run, and conditions on the day can too. A Dealer who has walked the roof can tell you which of those applies before you schedule, which is a better answer than a flat promise.
Step 4: Final Walk-Through
Your Dealer walks the job with you, demonstrates water flow, and confirms your warranty registration. You leave with documentation for your specific product, care recommendations, and a direct contact for questions later. Keep the paperwork: the warranty is registered to the installation, and the product documentation names the exact system on your house.
Before the Crew Arrives
There is very little for you to do, which is part of the appeal. Clear vehicles from the driveway and from the run where the crew will be working, and make sure someone is home for the inspection and the walk-through — those are the two conversations where decisions get made. If you have documentation from a previous gutter or roof job, have it where you can find it; knowing the gutter size and material in advance saves a measurement.
Tell the Dealer about anything unusual before installation day rather than during it: a section of gutter you know is loose, a downspout that has been rerouted, or a tree that drops needles year-round. Each of those changes what the crew brings.
While the Crew Is There
Two questions are worth asking on installation day, because the crew has a view of the roof edge that you rarely get yourself — and both of them connect to how well the whole system performs.
The first is attic insulation. Insulation is measured in R-value, which describes how well it resists heat flow, and the Department of Energy’s guide to home insulation puts the payoff plainly: adding insulation to attics, floors, crawl spaces, and accessible basements can save up to 20% on heating and cooling costs, or up to 10% on total energy costs. A roof edge that stays cold in winter is a roof edge where meltwater refreezes instead of draining.
The second is air sealing. ENERGY STAR’s seal-and-insulate guidance pairs the two — sealing air leaks and adding insulation — for up to 10% savings on annual energy bills, and it notes that the right projects depend on the specific problem you have: cold floors, drafts, or ice. Neither job is part of a gutter guard installation. Both are cheaper to coordinate while someone is already on the roof.
What Homeowners Ask Afterward
The most common question after installation is whether the gutters still need attention. They do, but far less: debris can still collect on the surface of the screen, and the honest answer is that a look after the heaviest leaf drop takes minutes rather than an afternoon on a ladder. The second most common question is whether it was worth it. The homeowners who have already had it done are the easiest to ask — our customer testimonials cover the reasons they called in the first place, from overflowing gutters to repeated cleaning bills.
If you want to compare systems before you commit, our product lineup lays out the differences between the models a Dealer is likely to recommend for your roof.
Ready for gutter protection you never have to think about again?